Is your prized indoor chili plant looking a little… lackluster? Are those fiery peppers failing to materialize despite your best efforts? Don't despair! Successfully growing peppers indoors can be a rewarding experience, and even seasoned growers encounter the occasional hiccup. More often than not, the answer lies in a few simple adjustments to your care routine.
Chili plants bring a vibrant splash of color and flavor to any indoor space. Whether you're an apartment dweller with limited outdoor access or simply prefer the control of an indoor environment, cultivating chilies in containers offers a unique and satisfying gardening adventure. The key is understanding their specific needs. Unlike outdoor gardening where plants benefit from the elements, indoor plants depend entirely on you to provide the right conditions. This means paying close attention to light, water, nutrients, and even pollination. When things go wrong, it's often due to an imbalance in one or more of these crucial areas.
Diagnosing Slow Growth in Your Indoor Chili Garden
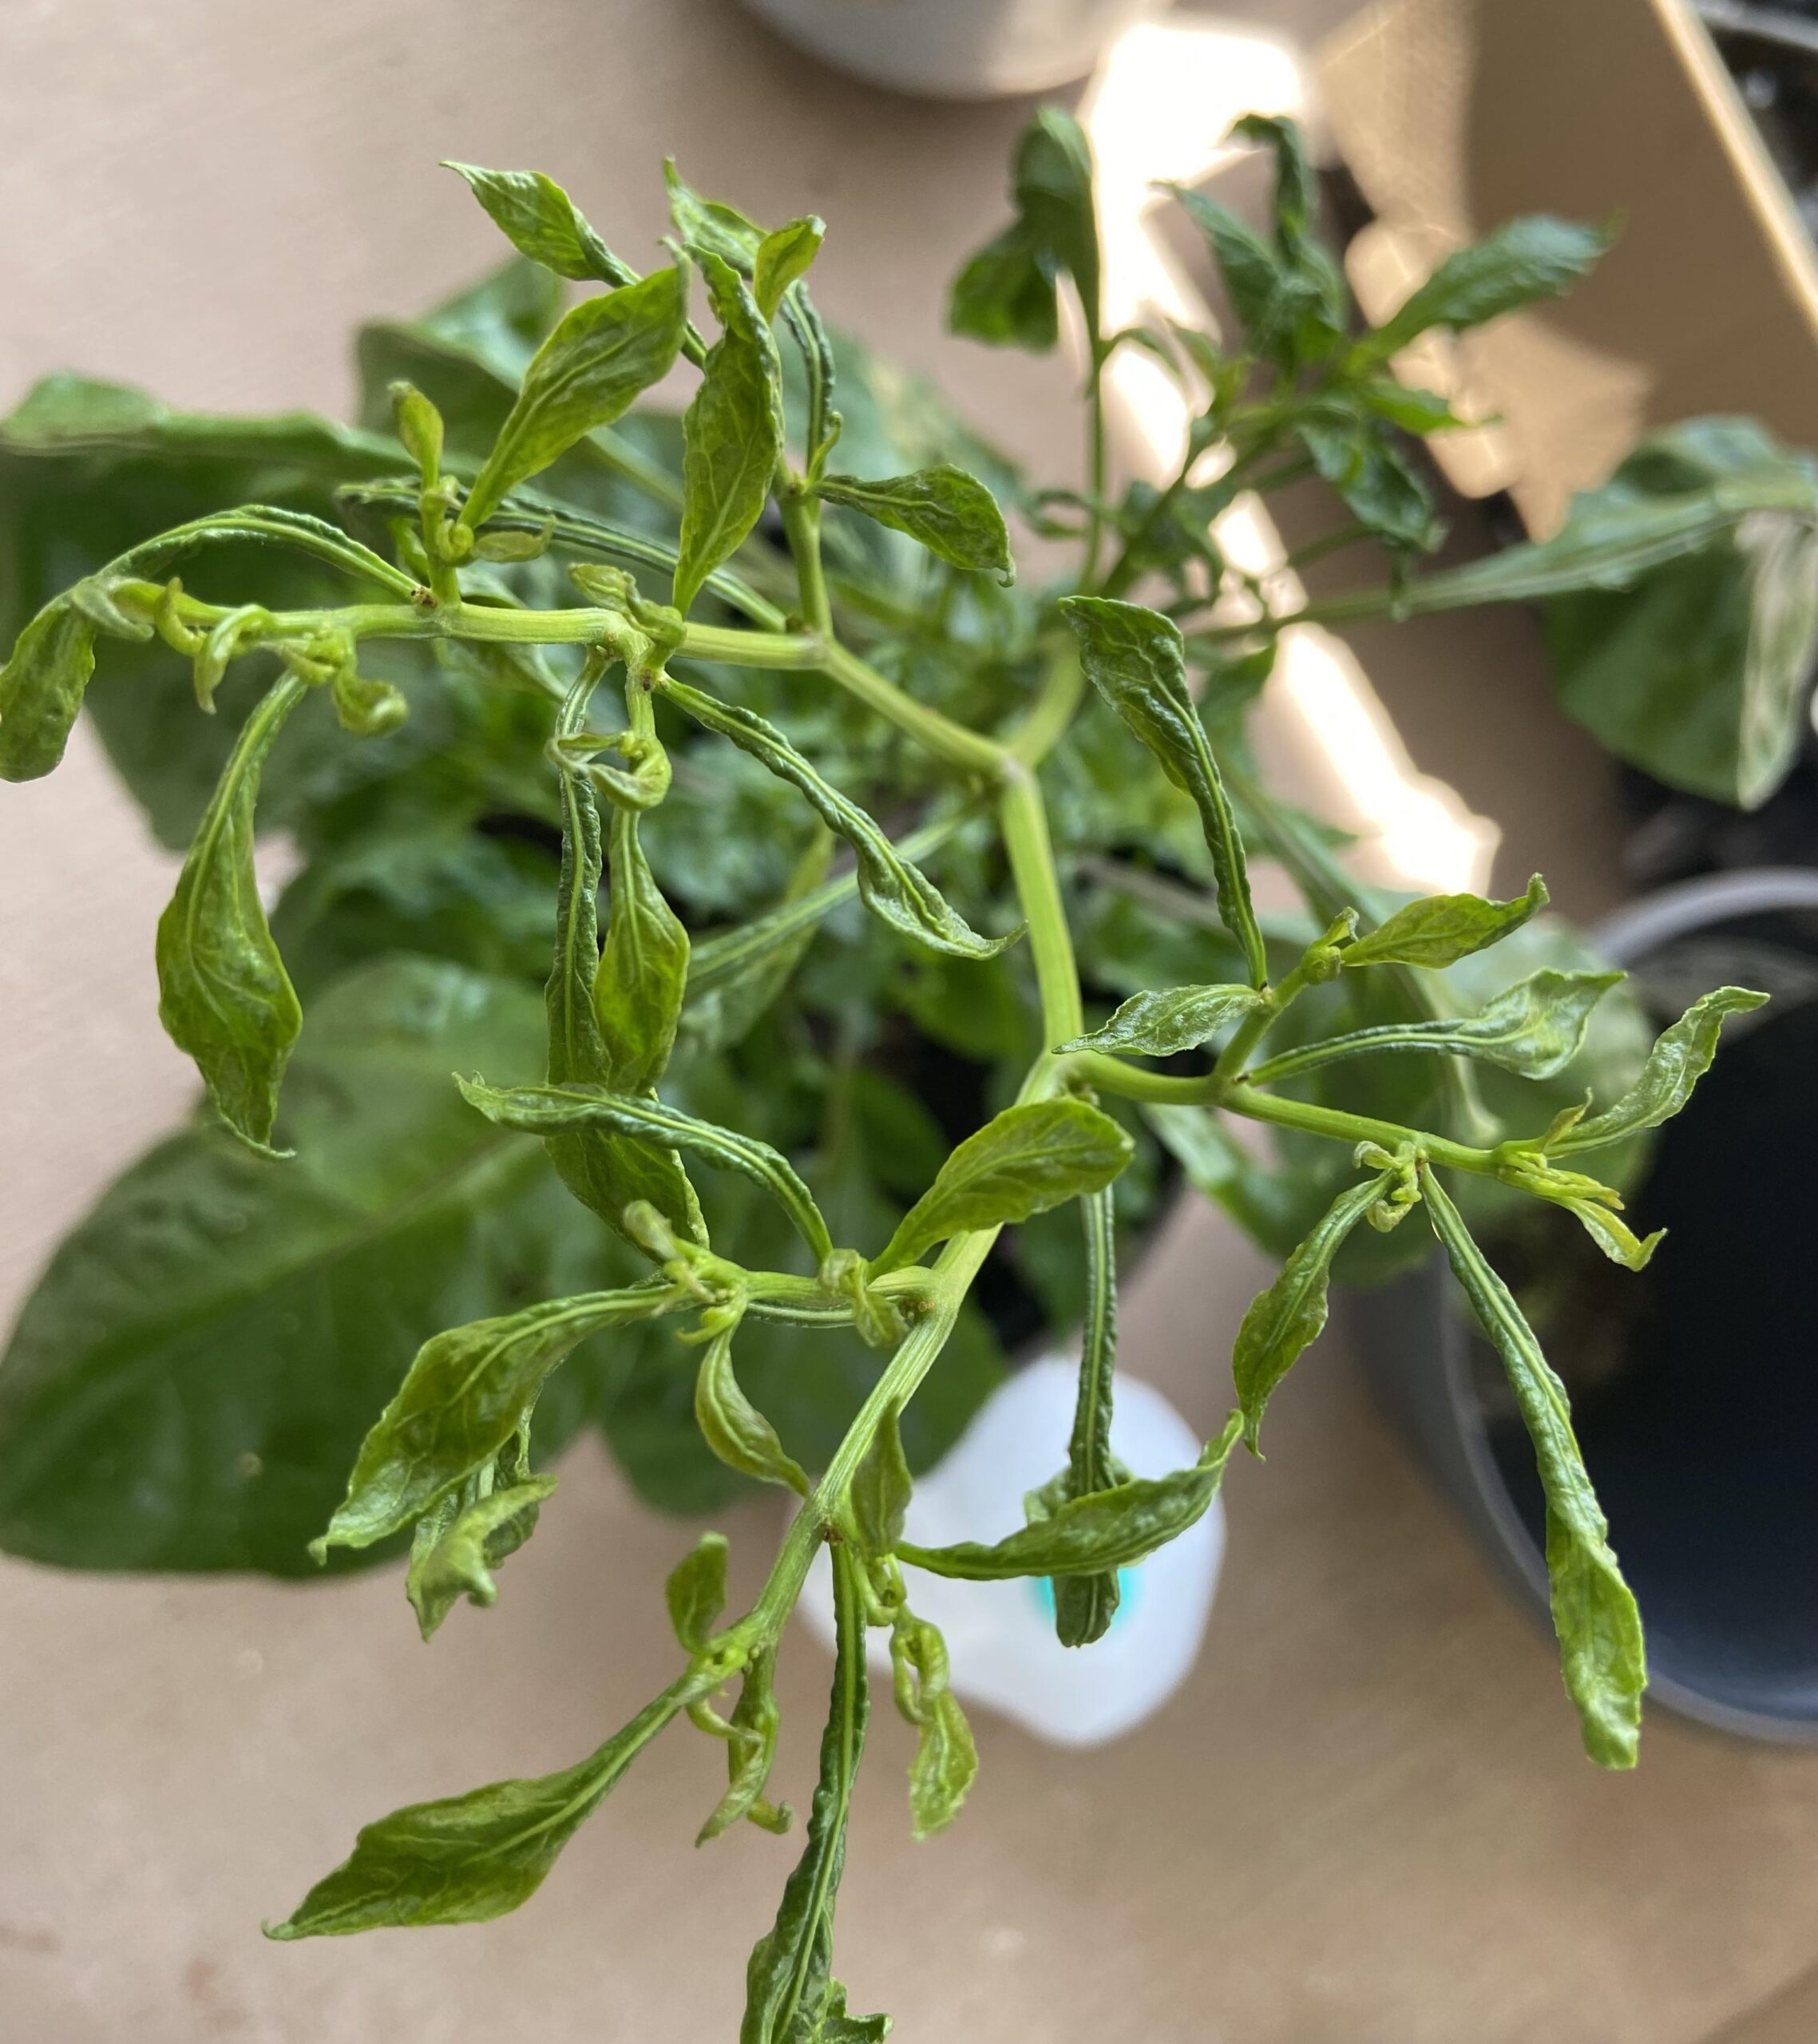
Before you reach for the fertilizer, take a moment to assess the overall health and environment of your chili plant. Consider these key factors: Visual Inspection: Are the leaves yellowing, curling, or displaying spots? Is the stem weak or spindly? Look closely for any signs of pests like aphids or spider mites. Environmental Conditions: What's the temperature and humidity like in the room? Is the plant exposed to drafts or extreme temperature fluctuations? Watering Habits: Are you overwatering or underwatering? Is the soil consistently soggy or bone dry? Lighting: Is the plant receiving enough light? Is it direct sunlight or filtered?
Once you have a clearer picture of the situation, you can start troubleshooting the specific issues.
Light: The Fuel for Fiery Growth
Light is arguably the most critical factor for successful indoor chili growing. Chilies are sun-loving plants, and they need plenty of it to thrive.
Natural Light: If you're relying on natural light, place your chili plant in the sunniest window you have, ideally a south-facing one. Rotate the plant regularly to ensure all sides receive equal exposure. Even then, natural light might not be sufficient, especially during winter months or in less sunny climates. Grow Lights: Investing in grow lights is highly recommended for indoor chili gardening. LED grow lights are energy-efficient and provide the full spectrum of light that chilies need for optimal growth and fruiting. Look for lights specifically designed for plants, and position them 6-12 inches above the plant canopy. Lighting Schedule:Aim for 14-16 hours of light per day. A timer can automate this process.
Troubleshooting light issues
Leggy Growth: Long, spindly stems with few leaves indicate insufficient light. Move the plant to a brighter location or supplement with grow lights. Pale Leaves: Yellowing or pale green leaves can also be a sign of inadequate light. Lack of Flowering:Without sufficient light, your chili plant won't produce flowers, and therefore no peppers.
Water: Finding the Right Balance
Overwatering and underwatering are common culprits behind stunted growth in indoor chili plants. It's all about finding the sweet spot.
The "Finger Test": Stick your finger about an inch into the soil. If it feels dry, it's time to water. If it feels moist, hold off. Well-Draining Soil: Use a potting mix specifically formulated for containers. Avoid heavy garden soil, which can retain too much moisture. Proper Drainage: Ensure your pot has drainage holes to prevent water from pooling at the bottom. Watering Frequency: Watering frequency will vary depending on environmental conditions, pot size, and plant size. Expect to water more frequently during warmer months and less frequently during cooler months.
Troubleshooting watering issues
Yellowing Leaves (especially lower leaves): Often a sign of overwatering. Allow the soil to dry out completely before watering again. Check for root rot. Wilting Leaves: Can indicate either overwatering or underwatering. Check the soil moisture to determine the cause. Stunted Growth:Both overwatering and underwatering can inhibit growth.
Nutrients: Feeding Your Chili Plant
Like all plants, chili plants need nutrients to thrive. Container-grown plants rely entirely on you to provide these nutrients.
Fertilizing Schedule: Start fertilizing your chili plant a few weeks after transplanting it into its final pot. Use a balanced liquid fertilizer (e.g., 20-20-20) diluted to half strength. Fertilizer Type: Once the plant starts flowering, switch to a fertilizer with a higher phosphorus content (the middle number) to promote fruit production. Organic Options: Consider using organic fertilizers like compost tea or fish emulsion. Avoid Over-Fertilizing: Too much fertilizer can burn the roots and damage the plant.
Troubleshooting nutrient deficiencies
Yellowing Leaves with Green Veins: Can indicate an iron deficiency. Purple Leaves: Can indicate a phosphorus deficiency. Slow Growth, Pale Color:Often a sign of a general nutrient deficiency.
Pollination: Helping Nature Along Indoors
In the great outdoors, bees and other insects take care of pollination. Indoors, you may need to lend a hand.
Hand Pollination: Use a small paintbrush or cotton swab to gently transfer pollen from one flower to another. You can also gently shake the plant to help distribute pollen. Air Circulation: A gentle breeze from a fan can also help with pollination.
Troubleshooting pollination issues
Flowers Dropping Off: A common sign of poor pollination. Lack of Fruit Set: If your plant is flowering but not producing peppers, pollination is likely the issue.
Soil and Container: Setting the Stage for Success
The right soil and container are essential for healthy root development and overall plant health.
Potting Mix: Use a well-draining potting mix specifically formulated for containers. Container Size: Choose a pot that is large enough to accommodate the plant's root system. A 5-gallon pot is generally sufficient for most chili varieties. Drainage Holes: Ensure your pot has drainage holes to prevent waterlogging. Repotting: As your chili plant grows, you may need to repot it into a larger container.
Pests and Diseases: Protecting Your Indoor Chili Garden
Even indoors, chili plants can be susceptible to pests and diseases.
Common Pests: Aphids, spider mites, and whiteflies are common indoor pests. Inspect your plants regularly for signs of infestation. Pest Control: Treat infestations with insecticidal soap, neem oil, or other organic pest control methods. Disease Prevention:Provide good air circulation and avoid overwatering to prevent fungal diseases.
People Also Ask (FAQ Style)
Why are my indoor chili pepper plants not growing?
Several factors can contribute to stunted growth in your indoor chili pepper plants, including insufficient light, improper watering (either over or under), nutrient deficiencies, poor pollination, or pest infestations. Assess each of these areas to identify the most likely cause.
How much light do indoor chili plants need?
Indoor chili plants thrive on at least 14-16 hours of light per day. While a sunny south-facing window might suffice, supplementing with grow lights is highly recommended, especially during winter. LED grow lights are energy-efficient and provide the necessary full spectrum of light.
What's the best way to water my container gardening chilies?
The "finger test" is your best guide. Stick your finger about an inch into the soil. If it feels dry, water thoroughly until excess water drains from the bottom of the pot. Avoid letting the plant sit in standing water.
Wrapping Up: Nurturing Your Indoor Chili Dream
Growing chilies indoors requires a bit of attention and care, but the rewards are well worth the effort. By providing the right light, water, nutrients, and protection from pests, you can enjoy a bountiful harvest of delicious peppers right in your own home. Don't be afraid to experiment and adjust your care routine as needed. With a little patience and observation, you'll be well on your way to becoming a successful indoor chili gardener! Enjoy the process, and get ready to spice things up!

Post a Comment