Is your indoor chili plant struggling, or are you simply looking for ways to boost its growth and fruit production? One often-overlooked technique in the world of indoor chili gardening is the strategic use of mulch.
Growing peppers indoors can be incredibly rewarding, allowing you to enjoy fresh chilies year-round, regardless of your climate. However, the controlled environment of your home presents unique challenges. Unlike outdoor gardens, indoor container plants rely entirely on you for their needs. That's where understanding how to enhance your soil and moisture retention becomes key, and why apartment chili plants benefit immensely from the proper mulching practices.
The Benefits of Mulch for Indoor Chili Growing
Mulch isn't just for outdoor gardens! Applying a layer of organic material to the surface of your indoor chili pots offers a range of benefits that directly impact the health and productivity of your plants.
Moisture Retention: Indoor environments tend to be dry, especially during winter months when heating systems are running. Mulch acts as a barrier, slowing down evaporation from the soil surface. This means you'll need to water less frequently, reducing the risk of overwatering, which is a common killer of indoor plants.
Temperature Regulation: Mulch helps to insulate the soil, keeping it cooler in the summer and warmer in the winter. This consistent soil temperature is ideal for healthy root development.
Weed Suppression: Although less of a concern in indoor settings, mulch still prevents any rogue weed seeds that may be present in your potting mix from sprouting and competing with your chili plant for nutrients.
Nutrient Enrichment: As organic mulches decompose, they slowly release valuable nutrients into the soil, acting as a slow-release fertilizer. This provides a continuous source of nourishment for your growing peppers.
Improved Soil Structure: Over time, organic mulch breaks down and improves the overall structure of your potting mix, making it more airy and well-draining.
Choosing the Right Mulch for Your Container Gardening Chilies
Selecting the appropriate type of mulch is crucial for successful indoor chili growing. Here are some excellent options: Coco Coir:A sustainable option made from coconut husks. Coco coir provides excellent moisture retention and aeration. It's also p H neutral, which is ideal for chili plants.
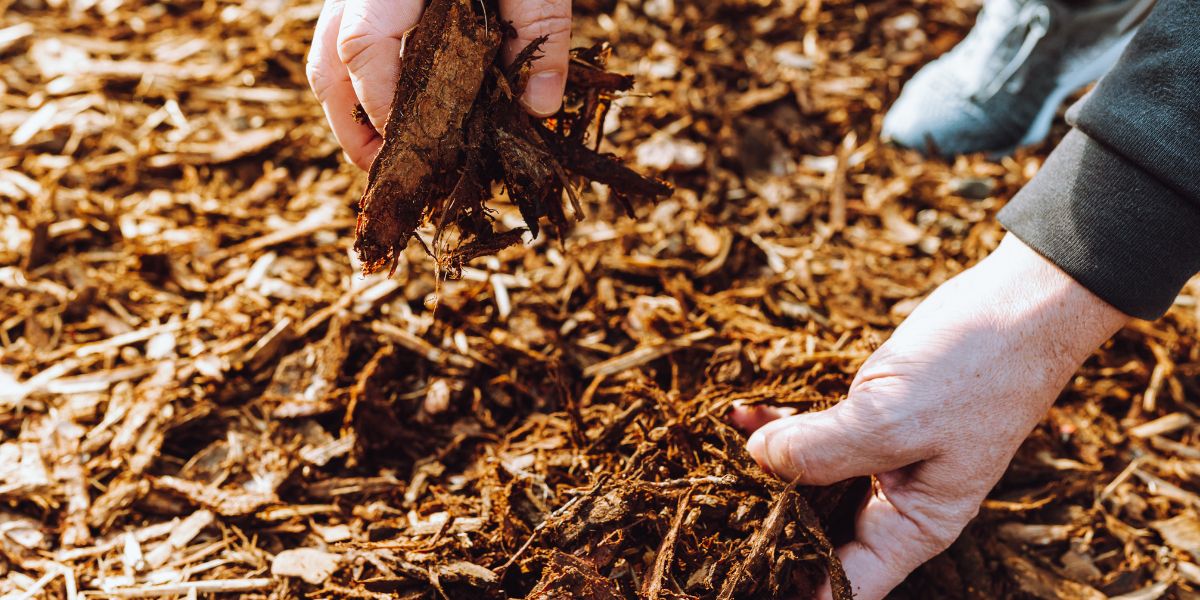
Wood Chips: Small wood chips, such as those made from cedar or pine, are effective for suppressing weeds and retaining moisture. Ensure they are well-composted to prevent nutrient tie-up. Use wood chips sparingly, as they can sometimes make the soil slightly acidic over time.
Shredded Bark: Similar to wood chips, shredded bark is a readily available and affordable option. Choose a fine-grade bark for best results in containers.
Straw: Chopped straw provides good insulation and moisture retention. It's best suited for larger containers.
Compost: A layer of finished compost is an excellent choice for providing nutrients and improving soil structure. Be sure it's fully decomposed before applying it as mulch.
Leaf Mold: Decomposed leaves create a nutrient-rich and moisture-retentive mulch. If you compost your leaves in the fall, you have a readily available and free mulch source.
Avoid: Using large wood chunks or non-organic mulches like rocks or plastic sheeting. These options do not offer the same benefits as organic mulches and may even hinder the growth of your chili plants.
Applying Mulch to Your Indoor Chili Plants: Step-by-Step
Follow these simple steps to properly mulch your indoor chili plants:
1.Water Your Plant: Before applying mulch, thoroughly water your chili plant. This ensures the soil is already moist.
2.Clear the Base: Remove any dead leaves or debris from around the base of the plant.
3.Apply a Thin Layer: Spread a 1-2 inch layer of your chosen mulch evenly around the base of the plant, leaving a small gap (about an inch) around the stem to prevent rot.
4.Water Again: Lightly water the mulch after application to help it settle and retain moisture.
Ongoing Care for Mulched Indoor Chili Plants
Once you've mulched your chili plants, here's how to maintain optimal growing conditions: Watering:Check the soil moisture regularly by sticking your finger about an inch into the soil. Water when the top inch feels dry. Remember that the mulch will help retain moisture, so you'll likely need to water less frequently. Be sure to research proper watering indoor plants tips!
Fertilizing: Continue to fertilize your chili plants regularly with a balanced liquid fertilizer or one specifically formulated for peppers and tomatoes. Follow the instructions on the fertilizer package.
Lighting: Chili plants need plenty of light to thrive indoors. Place them near a sunny window that receives at least 6-8 hours of direct sunlight per day. If you don't have enough natural light, supplement with grow lights for peppers. LED grow lights are an energy-efficient and effective option.
Pollination: Indoor chili plants may require hand-pollination to set fruit. Use a small paintbrush or cotton swab to transfer pollen from one flower to another. You can also gently shake the plant to help distribute pollen. Read about pollination indoors to learn more.
Monitor for Pests: Regularly inspect your chili plants for signs of pests such as aphids, spider mites, or whiteflies. Treat infestations promptly with insecticidal soap or neem oil.
Troubleshooting Common Issues with Indoor Chili Growing
Even with proper mulching and care, you may encounter some common issues when growing peppers indoors. Here are some solutions: Yellowing Leaves: Can be caused by overwatering, underwatering, nutrient deficiencies, or pest infestations. Check the soil moisture, fertilize accordingly, and inspect for pests. Leaf Drop: Often caused by sudden changes in temperature or humidity. Maintain consistent environmental conditions. Lack of Fruit Set: Can be due to insufficient light, poor pollination, or temperature extremes. Ensure adequate lighting, hand-pollinate if necessary, and maintain a consistent temperature. Leggy Growth: Indicates insufficient light. Move the plant to a sunnier location or supplement with grow lights.
Advanced Techniques: Hydroponic Chili Growing & More
For the adventurous grower, consider exploring hydroponic chili growing. While mulch isn't directly applicable in hydroponics, the principles of providing the right environment and nutrients still apply. You can also experiment with different growing mediums like perlite or vermiculite to further optimize your indoor chili garden.
Frequently Asked Questions About Indoor Chili Growing
What are the best chili varieties to grow indoors?
Smaller, compact varieties like Thai peppers, Jalapeños, and Tabasco peppers are well-suited for container gardening. These varieties tend to be more productive and easier to manage in indoor spaces. Also, consider your grow space - not all varieties will grow well in a small space!
How often should I replace the mulch on my indoor chili plants?
Organic mulches will break down over time. Replenish the mulch layer every 3-6 months, or as needed, to maintain a consistent 1-2 inch layer.
Can I use coffee grounds as mulch for chili plants?
Yes, coffee grounds can be a beneficial addition to your indoor chili garden. They are a good source of nitrogen and can help improve soil structure. However, use them sparingly and mix them with other organic mulches to avoid creating a dense, compacted layer. Be sure the coffee grounds are used!
Is growing chilies in containers difficult?
Growing chilies in containers presents some challenges but is very rewarding! You'll need to ensure proper watering, enough light and regular fertilization. However, you'll get chilies year round!
Conclusion
With a little care and attention, you can enjoy a bountiful harvest of fresh chilies right in your own home. Embrace the power of mulch to create a thriving environment for your plants, and don't be afraid to experiment with different techniques to find what works best for you. Happy growing!

Post a Comment