Is the thought of fresh, fiery chilies dancing in your dishes year-round just a delicious daydream? It doesn't have to be! With the right setup, growing peppers indoors is surprisingly achievable, even if you're short on space or live in a cooler climate.
The beauty of growing chili peppers indoors lies in the control you have. You're not battling unpredictable weather or pesky garden critters. You dictate the light, the water, and the nutrients, leading to a potentially bountiful harvest right in your home. This guide will walk you through the essential supplies you'll need to kickstart your indoor chili gardening journey, transforming your windowsill or spare corner into a vibrant pepper paradise.
Lighting the Way to Pepper Perfection
Let's face it, sunlight streaming through a window isn't always enough, especially during the shorter days of winter. Chili peppers are sun-loving plants, demanding a good 6-8 hours of strong light daily to thrive. That's where grow lights come in.
LED Grow Lights: These are energy-efficient and produce very little heat, making them ideal for indoor setups. Look for full-spectrum LEDs, which provide the range of light wavelengths your chili plants need for healthy growth and fruit production. Fluorescent Grow Lights (T5 or T8): A more budget-friendly option, fluorescent lights are still effective. You'll need to position them closer to the plants than LEDs, as they are less intense. Light Timer:Automate your lighting schedule with a timer. This ensures your plants receive consistent light, even when you're away.
Pro Tip: Observe your plants closely. If they're stretching towards the light (etiolation), it indicates they need more intensity or closer positioning to the light source.
The Right Foundation: Soil and Containers
The type of soil and container you choose plays a crucial role in the health and productivity of your indoor chili plants.
Potting Mix: Don't use garden soil! It's too dense and doesn't drain well, which can lead to root rot. Opt for a high-quality, well-draining potting mix specifically formulated for container gardening. A mix containing peat moss, perlite, and vermiculite is a good choice. Containers: Select containers that are appropriately sized for the type of chili pepper you're growing. Smaller varieties can thrive in 5-gallon pots, while larger plants may need 7-10 gallons. Ensure your containers have drainage holes to prevent waterlogging. Seed Starting Trays & Domes: If you're starting from seed, use seed starting trays or small pots. A humidity dome will help maintain consistent moisture levels for germination. Drip Trays or Saucers: Place under your containers to catch excess water and protect your surfaces.
Consider Self-Watering Options: Self-watering planters can simplify watering routines, especially if you're prone to forgetting or traveling. They work by providing a reservoir of water that the plant can draw upon as needed.
Watering Wisdom for Indoor Chili Plants
Proper watering is critical for successful indoor chili growing. Overwatering and underwatering are common pitfalls that can lead to problems.
Watering Can or Sprayer: A watering can with a long spout or a gentle sprayer allows you to water the soil without disturbing the plant or splashing water on the leaves. Moisture Meter (Optional): A moisture meter can help you gauge the moisture level in the soil, preventing both overwatering and underwatering. Watering Schedule:Water when the top inch of soil feels dry to the touch. The frequency will vary depending on the size of the pot, the temperature, and the humidity.
General Watering Tips
Water thoroughly until excess water drains from the drainage holes.
Avoid watering the foliage directly, as this can promote fungal diseases.
Use room-temperature water. Cold water can shock the roots.
Adjust your watering schedule based on the plant's needs and the environmental conditions.
Nutrient Necessities: Feeding Your Chili Plants
Chili peppers are heavy feeders, meaning they need a consistent supply of nutrients to produce abundant fruit.
Liquid Fertilizer: Choose a balanced liquid fertilizer specifically formulated for fruiting and flowering plants. Look for a fertilizer with an NPK ratio (nitrogen, phosphorus, potassium) that is slightly higher in phosphorus and potassium than nitrogen. Slow-Release Fertilizer (Optional): Incorporate a slow-release fertilizer into the potting mix at planting time to provide a steady supply of nutrients over several months. Fertilizing Schedule:Follow the instructions on the fertilizer label. As a general rule, fertilize your chili plants every 2-4 weeks during the growing season.
Nutrient Deficiency Signs: Yellowing leaves, stunted growth, and poor fruit production can be signs of nutrient deficiencies. Adjust your fertilizing schedule accordingly.
Pollination Perfection: Helping Nature Along
Indoor chili plants may need a little help with pollination, as they don't have the benefit of wind or insects.
Small Paintbrush or Cotton Swab: Use a small paintbrush or cotton swab to gently transfer pollen from the male parts (anthers) of the flower to the female part (stigma). Electric Toothbrush (Optional): Some growers use an electric toothbrush to vibrate the plant, helping to release pollen. Hand Pollination Routine:Gently brush the inside of each flower, one by one. Repeat this process every few days, especially during flowering.
Why Pollination Matters: Successful pollination is crucial for fruit set. Without it, your chili plants will produce flowers, but no peppers.
Pest Patrol: Defending Your Indoor Crop
While indoor environments are less prone to pests than outdoor gardens, you still need to be vigilant.
Magnifying Glass: A magnifying glass can help you spot tiny pests like aphids, spider mites, and thrips. Insecticidal Soap or Neem Oil: These are safe and effective treatments for common indoor pests. Sticky Traps: Yellow sticky traps can help catch flying insects like fungus gnats. Isopropyl Alcohol: A cotton swab dipped in isopropyl alcohol can be used to kill individual pests.
Pest Prevention is Key: Regularly inspect your plants for signs of pests. Good air circulation and proper watering can help prevent infestations.
Climate Control: Creating the Ideal Environment
Chili peppers thrive in warm temperatures and moderate humidity.
Thermometer: Monitor the temperature around your plants. Aim for a daytime temperature of 70-80°F (21-27°C) and a nighttime temperature of 60-70°F (15-21°C). Humidity Monitor (Hygrometer): Monitor the humidity levels. Chili peppers prefer a humidity of 40-60%. Humidifier or Dehumidifier (Optional): If the humidity is too low or too high, use a humidifier or dehumidifier to adjust it. Small Fan: A small fan can improve air circulation, which helps prevent fungal diseases.
Temperature and Humidity Management: Avoid placing your chili plants near drafts or heating vents, which can cause temperature fluctuations and dry air.
Trellising and Support
As your chili plants grow and produce fruit, they may need some support to prevent them from toppling over.
Stakes or Trellises: Use stakes or small trellises to support the stems of your chili plants. Plant Ties: Use soft plant ties to secure the stems to the supports.
Why Support Matters: Supporting your plants can prevent them from breaking under the weight of the fruit, ensuring a more abundant harvest.
Troubleshooting Your Indoor Chili Garden
Even with the best setup, you may encounter some challenges along the way. Here are some common problems and their solutions: Yellowing Leaves: Could indicate overwatering, underwatering, nutrient deficiency, or pest infestation. Stunted Growth: Could indicate insufficient light, nutrient deficiency, or root-bound plants. Blossom Drop: Could indicate temperature stress, insufficient light, or lack of pollination. Pest Infestation: Identify the pest and treat it with insecticidal soap, neem oil, or other appropriate methods.
Regular Monitoring is Crucial: The key to successful indoor chili growing is to monitor your plants closely and address any problems promptly.
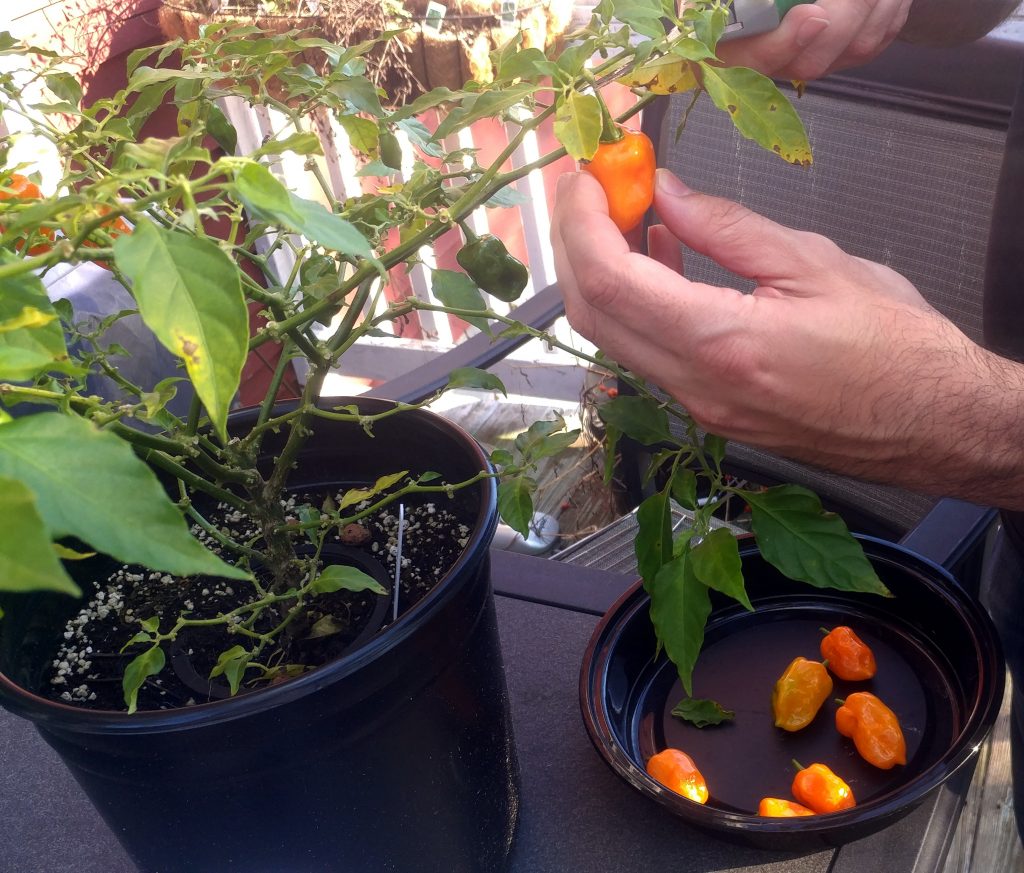
Harvesting Your Bountiful Crop
The moment you've been waiting for! Harvest your chilies when they've reached their mature color and size.
Scissors or Pruning Shears: Use scissors or pruning shears to carefully cut the chilies from the plant. Gloves: Wear gloves when handling hot peppers to avoid skin irritation.
Harvesting Tips
Harvest chilies regularly to encourage further fruit production.
Store harvested chilies in a cool, dry place.
Dry, freeze, or pickle your chilies to preserve them for later use.
Growing chili peppers indoors is an incredibly rewarding experience. With the right equipment and a little patience, you can enjoy a steady supply of fresh, flavorful chilies year-round. Don't be afraid to experiment and adjust your techniques as you learn what works best for your plants and your indoor environment. Now get out there and start growing!
Frequently Asked Questions About Indoor Chili Growing
What are the best chili pepper varieties to grow indoors?
Smaller, more compact varieties like Thai chilies, habaneros, and jalapeños tend to do well indoors. However, with proper care and adequate space, you can successfully grow almost any chili pepper variety in a container.
How often should I water my indoor chili plants?
Water when the top inch of soil feels dry to the touch. The frequency will depend on the size of the pot, the temperature, and the humidity. Avoid overwatering, which can lead to root rot.
Do I need to pollinate my indoor chili plants?
Yes, indoor chili plants often need help with pollination since they don't have access to natural pollinators. You can use a small paintbrush or cotton swab to gently transfer pollen from one flower to another.

Post a Comment