Is the thought of fresh, homegrown chilies dancing in your head, but you lack a sprawling garden? Fear not! You can absolutely cultivate a thriving chili pepper patch right inside your home.
Growing chilies indoors is becoming increasingly popular, and for good reason. It extends the growing season, protects plants from unpredictable weather and pests, and allows even apartment dwellers to enjoy the satisfaction of harvesting their own spicy bounty. Whether you’re a seasoned gardener or a complete novice, growing peppers indoors is a rewarding experience. This guide will provide you with all the essential knowledge to get started, from selecting the right seeds to troubleshooting common problems.
Getting Started: Choosing Your Chili Varieties
The first step in your indoor chili growing adventure is selecting the right varieties. Not all chilies are created equal when it comes to container gardening. Consider these factors: Plant Size: Opt for compact or dwarf varieties that won't outgrow your indoor space. Examples include Thai peppers, Jalapenos, Scotch Bonnets, and some ornamental varieties like ‘Numex Twilight’. Days to Maturity: Check the seed packet for the "days to maturity" – this indicates how long it will take to harvest. Shorter maturity times are ideal for maximizing your indoor yield. Heat Level: Choose chilies that suit your taste preferences. From mild bell peppers to scorching habaneros, the Scoville scale will be your guide. Availability: Consider your local climate if you want to get a head start. You might find starter plants that will cut down on the time from seed to harvest!
Setting Up Your Indoor Chili Garden
Once you've chosen your chili varieties, it's time to create the perfect indoor growing environment. Here's what you'll need:
1.Containers: Select pots that are at least 5 gallons in size to provide adequate room for root development. Fabric pots are an excellent choice, as they promote air pruning and prevent root circling. Be sure that the container you select has drainage holes.
2.Potting Mix: Use a well-draining potting mix specifically formulated for container gardening. Avoid using garden soil, as it can compact and hinder drainage. A mix of peat moss, perlite, and vermiculite is a good option.
3.Grow Lights: Chilies need plenty of light to thrive. While a sunny windowsill might suffice during the peak of summer, supplemental grow lights are essential for consistent growth, especially during winter. Full-spectrum LED grow lights are energy-efficient and provide the optimal light spectrum for plant growth.
4.Location: Choose a location with good air circulation and stable temperatures. Avoid placing your plants near drafty windows or heating vents.
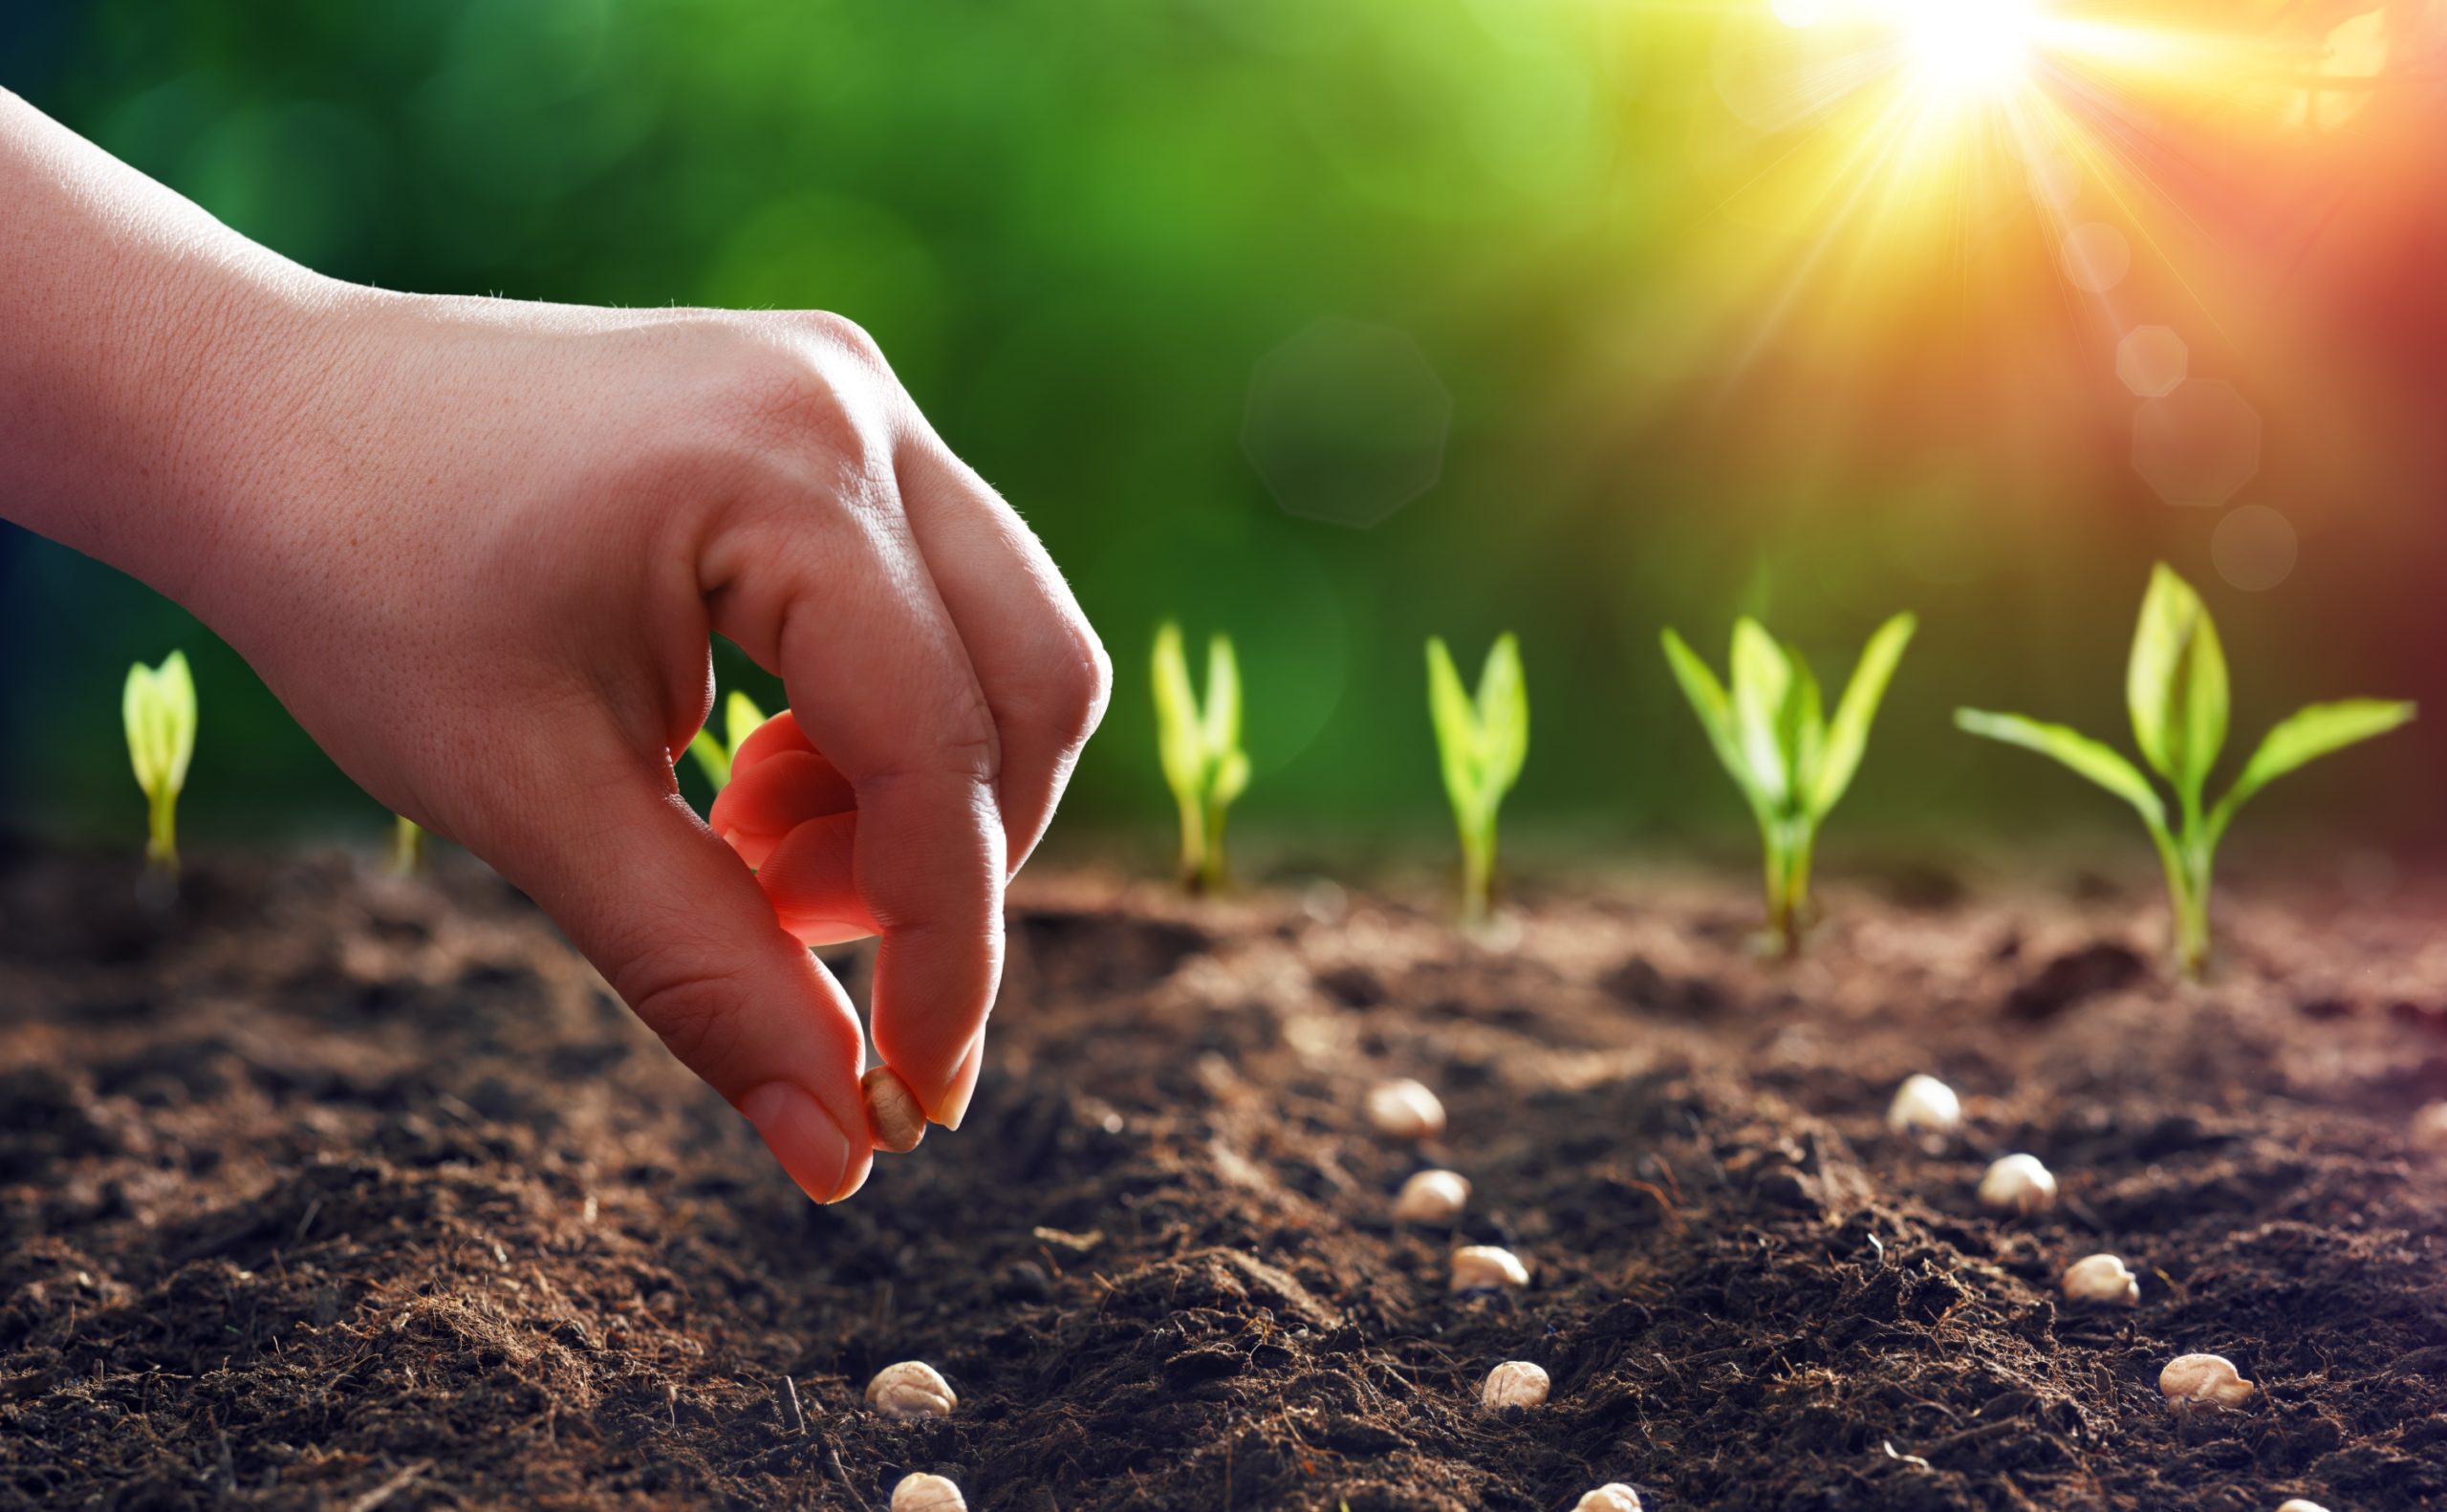
Sowing Seeds and Germination
You can start your chili seeds indoors 6-8 weeks before the last expected frost, or anytime you want to begin your indoor garden. Here's how:
1.Soaking: Soak the seeds in warm water for 12-24 hours to soften the seed coat and improve germination rates.
2.Planting: Fill seed trays or small pots with a seed-starting mix. Sow seeds about ¼ inch deep.
3.Warmth and Moisture: Keep the soil consistently moist, but not waterlogged. Use a heat mat to maintain a soil temperature of 75-85°F (24-29°C) for optimal germination.
4.Light: Once seedlings emerge, provide them with plenty of light. Place them under grow lights or in a bright, sunny location.
Caring For Your Indoor Chili Plants
Once your seedlings have developed a few sets of true leaves, it's time to transplant them into their permanent containers.
Transplanting: Gently remove the seedlings from their starter pots and plant them in the larger containers filled with potting mix. Watering: Water deeply when the top inch of soil feels dry. Avoid overwatering, which can lead to root rot. Consider using a moisture meter to gauge the soil moisture level. Fertilizing: Feed your chili plants with a balanced liquid fertilizer every 2-3 weeks during the growing season. Look for a fertilizer that is specifically formulated for peppers or tomatoes. Pruning: Prune your chili plants to encourage bushier growth and better air circulation. Remove any yellowing or dead leaves. Pollination:Indoor chili plants may require hand-pollination to produce fruit. Use a small paintbrush or cotton swab to transfer pollen from one flower to another. You can also gently shake the plants to release pollen.
Lighting for Indoor Chili Success
Proper lighting is crucial for successful indoor chili growing. Here's what you need to know: Light Duration: Chili plants need at least 14-16 hours of light per day. Use a timer to automate your grow lights. Light Intensity: The intensity of the light depends on the type of grow light you're using. LED grow lights are generally more efficient than fluorescent lights. Distance: Position the grow lights close enough to the plants to provide adequate light, but not so close that they burn the leaves. Follow the manufacturer's recommendations for optimal distance. Type of Light: Full-spectrum LED grow lights are recommended. Some gardeners use metal halide (MH) lamps for vegetative growth and high-pressure sodium (HPS) lamps for flowering and fruiting, but LEDs are more energy-efficient and generate less heat.
Watering Your Indoor Chili Plants: Finding the Balance
Watering is a critical aspect of growing peppers indoors. Overwatering is a common mistake that can lead to root rot, while underwatering can stunt growth.
Check Soil Moisture: Before watering, check the soil moisture level by sticking your finger about an inch deep into the soil. If the soil feels dry, it's time to water. Water Deeply: When you water, water deeply enough so that the water drains out of the bottom of the pot. This ensures that the entire root system is moistened. Watering Frequency: The frequency of watering depends on several factors, including the size of the pot, the type of potting mix, the temperature, and the humidity. Generally, you'll need to water your chili plants every 2-3 days. Avoid Overwatering: Overwatering can lead to root rot, which can kill your plants. Make sure your pots have drainage holes and avoid letting the plants sit in standing water. Use Room Temperature Water: Avoid using cold water, which can shock the plants. Consider Self-Watering Systems: If you struggle with watering consistently, consider using self-watering pots or a hydroponic system.
Common Problems and How to Solve Them
Even with the best care, indoor chili plants can sometimes encounter problems. Here are some common issues and how to address them: Aphids: These tiny pests can suck the sap from leaves, causing them to curl and yellow. Spray with insecticidal soap or neem oil. Spider Mites: These pests create fine webs on the leaves. Increase humidity and spray with insecticidal soap or neem oil. Fungus Gnats: These small flies can be annoying and their larvae can damage roots. Allow the soil to dry out slightly between waterings and use sticky traps to catch the adults. Blossom Drop: This occurs when flowers fall off the plant without producing fruit. It can be caused by temperature stress, lack of pollination, or nutrient deficiencies. Ensure proper temperatures, hand-pollinate, and fertilize regularly. Root Rot:This is caused by overwatering and can lead to wilting and death. Improve drainage, allow the soil to dry out, and consider using a fungicide.
FAQs About Growing Chilies Indoors
How do I pollinate my indoor chili plants?
Since there are no bees or wind indoors, hand-pollination is essential. Use a small, soft brush to gently transfer pollen from the stamen (male part) to the pistil (female part) of each flower. You can also gently shake the plant to dislodge pollen.
What kind of grow lights are best for growing peppers indoors?
Full-spectrum LED grow lights are the most efficient and effective for indoor chili growing. They provide the necessary light spectrum for both vegetative growth and flowering. Ensure the light intensity is appropriate for your plant's stage of development.
Can I grow chili peppers hydroponically indoors?
Yes, hydroponic chili growing is a popular and efficient method. It involves growing plants in nutrient-rich water without soil. Popular hydroponic systems for chilies include deep water culture (DWC), nutrient film technique (NFT), and drip systems. Hydroponics can lead to faster growth and higher yields.
From Seed to Spice Rack: Harvesting and Enjoying Your Chilies
After months of care and anticipation, it's finally time to harvest your chilies. The exact timing will depend on the variety you're growing, but generally, chilies are ready to harvest when they have reached their mature color and size. Use pruning shears or scissors to cut the peppers from the plant, leaving a small stem attached.
Now, you can enjoy your homegrown chilies in a variety of ways: Fresh: Use them immediately in your favorite recipes. Dried: String them up and air-dry them, or use a dehydrator. Pickled: Preserve them in vinegar for a tangy treat. Frozen: Freeze them whole or chopped for later use. Homemade Sauces:Experiment with your own chili sauces and rubs.
Growing chilies indoors is a rewarding journey that brings the flavors of summer into your home year-round. With a little planning, care, and attention to detail, you can enjoy a bountiful harvest of fresh, spicy peppers, no matter where you live. So, embrace the challenge, get your hands dirty, and prepare to spice up your life with homegrown chilies!

Post a Comment