So, you're dreaming of fiery flavors fresh from your own home, even without a sprawling garden? You’re not alone. Many chili enthusiasts are discovering the joys of cultivating their own pepper plants indoors, turning windowsills and balconies into miniature, spicy havens.
Growing chilies indoors is more than just a quirky hobby; it's a rewarding way to access fresh, flavorful ingredients year-round. It’s also surprisingly achievable, even for beginners. With the right approach, even those in apartments or with limited outdoor space can enjoy a thriving indoor chili garden. Let’s dive into the secrets to successful indoor chili gardening, transforming you from a chili enthusiast to a chili-growing expert!
Choosing the Right Chili Varieties for Indoor Growing
Not all chili varieties are created equal, especially when it comes to indoor cultivation. Consider space constraints and lighting conditions when making your selection. Compact varieties are generally better suited for container gardening indoors.
Here are a few excellent choices for growing peppers indoors: Thai Peppers: These prolific producers are relatively small and thrive in containers. They offer a good kick and are perfect for adding heat to Asian-inspired dishes. Tabasco Peppers: Famous for their use in Tabasco sauce, these peppers are easy to grow and offer a distinct flavor. Jalapeños: A classic choice, jalapeños are relatively easy to grow and offer a manageable level of heat. Look for compact varieties. Habaneros: For those who crave intense heat, habaneros can be grown indoors, but they require more patience and attention. Ornamental Peppers:Varieties like "Black Pearl" or "Purple Flash" are not only visually stunning but also produce edible (though often spicy) peppers.
When selecting your seeds or seedlings, prioritize those labeled as "compact" or "bush" varieties. These are naturally smaller and more manageable for indoor spaces.
Setting Up Your Indoor Chili Garden: The Essentials
Before you even think about planting, you need to create the right environment for your chili plants. Here's a checklist:
1.Containers: Choose pots that are at least 1-2 gallons in size. Ensure they have drainage holes to prevent waterlogging. Terracotta or plastic pots work well.
2.Potting Mix: Use a high-quality, well-draining potting mix. Avoid garden soil, as it can become compacted and doesn't provide adequate drainage for container plants. A mix specifically formulated for vegetables is ideal.
3.Lighting: This is crucial for indoor success. South-facing windows are best, providing the most natural sunlight. However, even with a sunny window, you'll likely need supplemental grow lights, especially during winter months.
4.Temperature: Chilies thrive in temperatures between 65°F and 80°F (18°C and 27°C). Avoid placing plants near drafts or heating vents.
5.Humidity: While not as critical as temperature and light, chilies prefer moderate humidity levels. If your home is particularly dry, consider using a humidifier or placing a tray of water near your plants.
Lighting Your Indoor Chili Plants: Essential for Growth
Adequate lighting is arguably the most critical factor for successfully growing peppers indoors. Without sufficient light, your plants will become leggy, produce few peppers, and may even fail to thrive.
Natural Light: If you have a south-facing window, take advantage of it! Place your chili plants as close to the window as possible. Rotate the plants regularly to ensure even light exposure. Grow Lights: Supplement natural light with grow lights. LED grow lights are energy-efficient and provide the full spectrum of light that plants need. Fluorescent grow lights are another option but may need to be placed closer to the plants. Light Duration: Aim for 14-16 hours of light per day during the vegetative stage (when the plant is growing leaves and stems) and 12-14 hours during the flowering and fruiting stage. Light Placement: Position the grow lights a few inches above the plants, adjusting the height as the plants grow.
When selecting grow lights, look for those that provide a full spectrum of light, including both blue and red wavelengths. Blue light promotes vegetative growth, while red light encourages flowering and fruiting.
Watering and Feeding Your Indoor Chili Plants
Proper watering and fertilization are essential for healthy growth and abundant pepper production.
Watering: Water your chili plants when the top inch of soil feels dry to the touch. Avoid overwatering, as this can lead to root rot. Ensure that the excess water drains out of the drainage holes. The frequency of watering will depend on the temperature, humidity, and size of the pot. Fertilizing: Feed your chili plants every 2-3 weeks with a balanced liquid fertilizer. Look for a fertilizer that is specifically formulated for vegetables or tomatoes. During the flowering and fruiting stage, switch to a fertilizer that is higher in phosphorus and potassium to encourage pepper production. Nutrient Deficiency Symptoms:Keep an eye out for signs of nutrient deficiencies, such as yellowing leaves or stunted growth. Adjust your fertilization schedule as needed.
Avoid using tap water that contains chlorine or chloramine, as these chemicals can harm your plants. If possible, use filtered water or let tap water sit out for 24 hours to allow the chemicals to dissipate.
Pollinating Your Indoor Chili Plants: A Helping Hand
In an outdoor garden, bees and other insects take care of pollination. Indoors, you'll need to play the role of the pollinator.
Hand Pollination: Use a small, soft brush or cotton swab to gently transfer pollen from one flower to another. Focus on transferring pollen from the stamen (the male part of the flower) to the pistil (the female part). Shaking: Gently shake the plants to help dislodge pollen and facilitate pollination. Air Circulation:Ensure good air circulation around your plants, as this can also aid in pollination. A small fan can help.
Pollination is crucial for pepper production. If your plants are flowering but not producing peppers, it's likely that pollination is the issue.
Common Problems and Solutions for Indoor Chili Growing
Even with the best care, you may encounter some challenges when growing chili plants indoors. Here are a few common problems and how to address them: Aphids: These tiny pests can suck the sap from your plants, causing them to weaken and become distorted. Treat aphids with insecticidal soap or neem oil. Spider Mites: These tiny pests create webs on your plants and can cause yellowing and stippling of the leaves. Treat spider mites with insecticidal soap or neem oil. Increase humidity around the plants. Whiteflies: These small, white insects can fly up from the plant when disturbed. Treat whiteflies with insecticidal soap or neem oil. Root Rot: This fungal disease can occur if the soil is constantly waterlogged. Prevent root rot by ensuring that your plants are planted in well-draining soil and that you are not overwatering. Blossom End Rot:This condition causes the blossom end of the pepper to become dark and sunken. It is usually caused by a calcium deficiency or inconsistent watering. Ensure that your plants are getting enough calcium and that you are watering them consistently.
Regularly inspect your plants for signs of pests or diseases. Early detection and treatment are key to preventing serious problems.
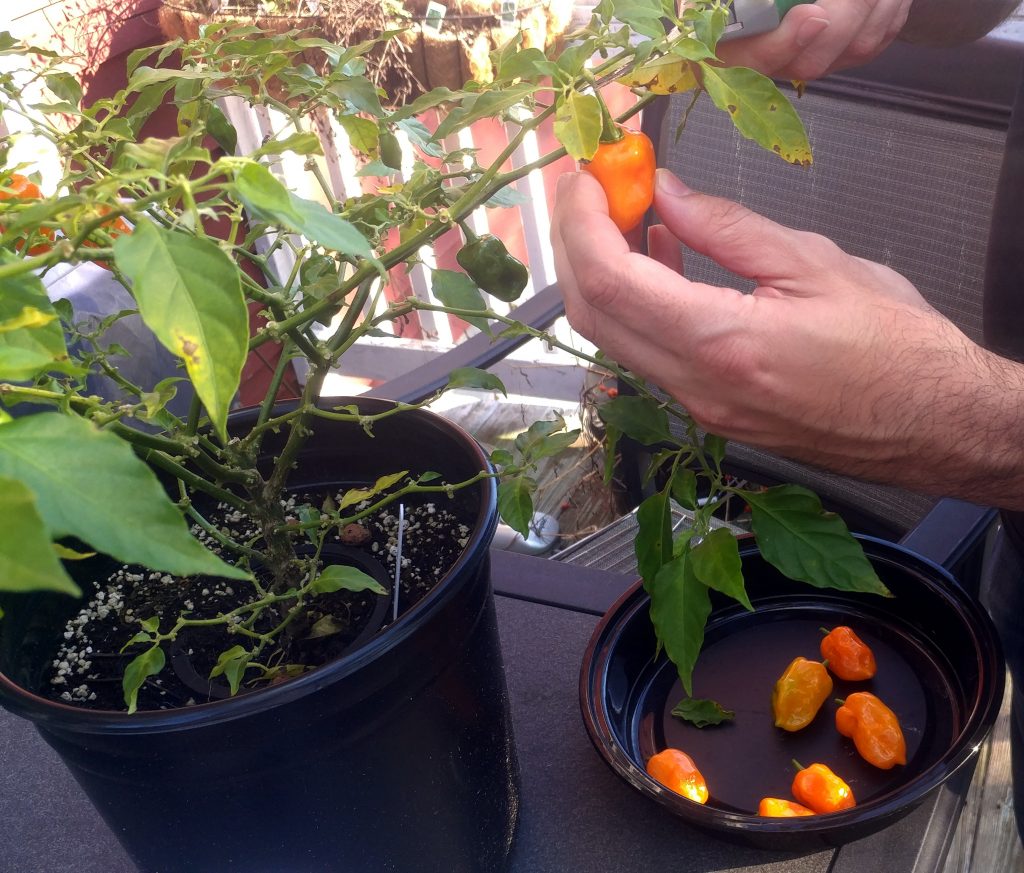
Harvesting Your Indoor Chili Peppers: Time to Enjoy!
The moment you've been waiting for! Harvesting your peppers is the most rewarding part of growing chilies indoors.
Timing: The best time to harvest your peppers depends on the variety and your desired level of heat. Generally, peppers will turn from green to their mature color (red, yellow, orange, or brown) when they are ripe. Method: Use a sharp knife or scissors to cut the peppers from the plant, leaving a small stem attached. Storage:Freshly harvested peppers can be stored in the refrigerator for up to a week. You can also dry, freeze, or pickle your peppers for longer-term storage.
Enjoy the fruits (or rather, peppers!) of your labor by adding them to your favorite dishes. There's nothing quite like the taste of homegrown chilies!
Frequently Asked Questions About Indoor Chili Gardening
Let's tackle some common questions from aspiring indoor chili growers:
What's the best way to ensure my indoor chili plants get enough light?
Combine a south-facing window with supplemental LED grow lights. Aim for 14-16 hours of light during the vegetative stage and 12-14 hours during flowering and fruiting.
How often should I water my container chili plants indoors?
Water when the top inch of soil feels dry. Avoid overwatering, as this can lead to root rot. Ensure your pots have drainage holes.
My chili plants are flowering but not producing peppers. What's wrong?
Pollination is likely the issue. Hand-pollinate the flowers using a small brush or gently shake the plants.
Growing chili in containers indoors doesn't have to be a daunting task. With the right knowledge, care, and a little patience, you can enjoy a bountiful harvest of delicious, fiery peppers right in your own home. So, go ahead, embrace the world of apartment chili plants and start your indoor chili gardening journey today! The taste of homegrown chilies is well worth the effort.

Post a Comment